Guide to Converting a Parking Strip Into a Garden in 2026
Got an unused strip of land between the sidewalk and the street? That often-overlooked space, sometimes called a parking strip, hellstrip, or boulevard, is ripe for transformation. Converting a parking strip into a garden can do wonders for your property's curb appeal, reduce water usage, and even support local wildlife.
It's a project that requires careful planning, especially when considering factors like underground utilities and local regulations. For instance, many municipalities, like Portland, Oregon, have specific guidelines on plant height and proximity to the curb to ensure safety and visibility as of 2024. Let's walk through how to make this green dream a reality, tackling those crucial decisions along the way.
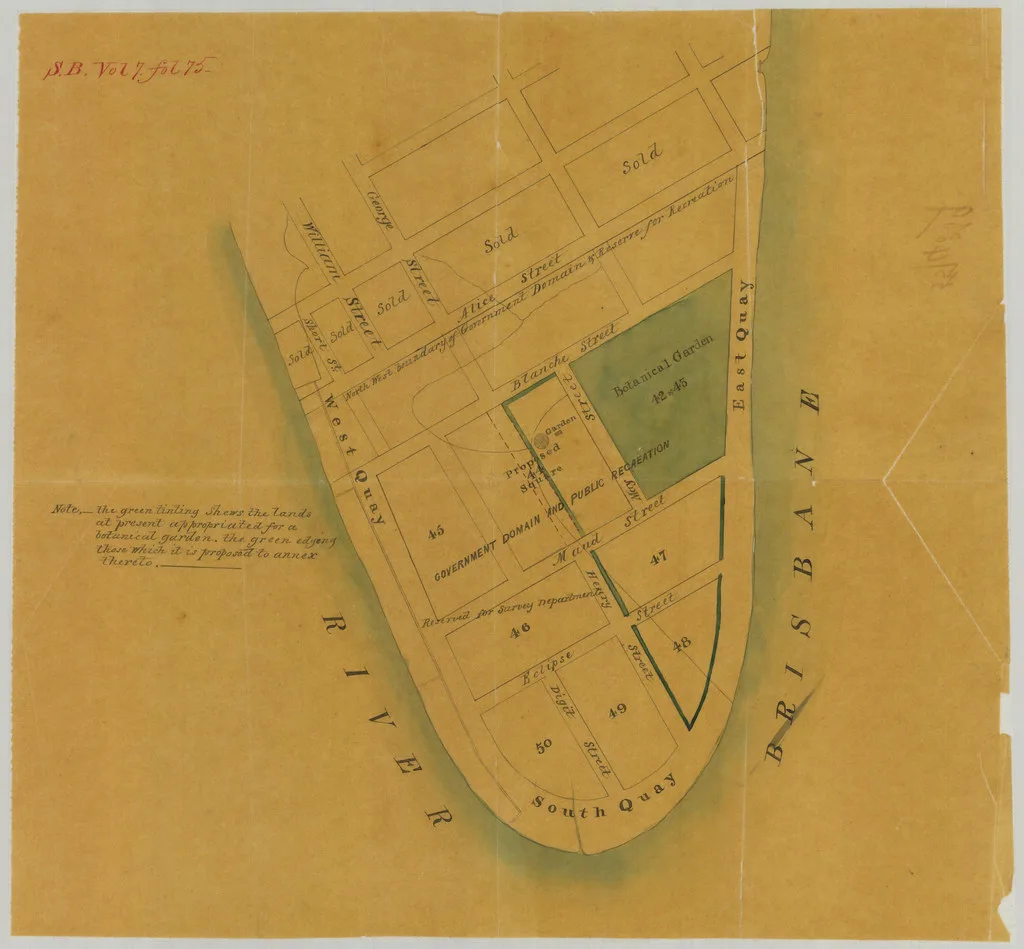
Image source: Openverse / Queensland State Archives (PDM 1.0)
Why Convert Your Parking Strip? More Than Just Curb Appeal
Turning that often neglected grassy or weedy strip into a vibrant garden offers a whole host of benefits, far beyond just looking nice. You're not just planting flowers; you're creating a little ecosystem right outside your door. It’s an investment that pays off in many ways.
For starters, you'll likely see a significant drop in your water bill if you switch from a thirsty lawn to drought-tolerant plants. Our research shows many homeowners report up to 50% water savings once their new garden is established. Plus, you're doing your part for the environment by improving soil health and providing much-needed habitat for pollinators like bees and butterflies, which are essential for our ecosystem.
Understanding Your Parking Strip: The Site Assessment Checklist
Before you dig even a single hole, you need to get to know your parking strip intimately. Every strip is different, and what works for one might not work for another. This initial assessment is critical because it directly influences your plant choices and design decisions. Don't skip this part; it's the foundation of a successful garden.
Measuring Up: Dimensions, Sun, and Foot Traffic
Start by grabbing a tape measure. You'll want to note the exact length and width of the strip, as this helps with material estimates and plant spacing later. Next, observe the sun exposure throughout the day. Does it get full, blazing sun all day long (that's 6+ hours), or is it mostly shaded by trees or buildings?
This information is non-negotiable for picking plants that will thrive.
Finally, pay attention to the flow of life around it. Is there heavy pedestrian traffic, do kids cut across it, or do car doors often swing open over it? These factors will tell you if you need hardy, foot-traffic-tolerant plants or maybe some decorative edging to deter shortcuts.
Digging Deeper: Your Soil's Story and Drainage Needs
Your soil is the literal bedrock of your garden. Is it heavy clay, sandy, or something in between? Heavily compacted soil, often found in these strips due to vehicle traffic and construction, drains poorly and makes it hard for roots to grow. You can do a simple perk test: dig a small hole, fill it with water, and see how long it takes to drain.
Slow drainage (over 12 hours) means you'll need to amend that soil significantly.
Consider also getting a basic soil test kit. These kits check for pH levels and essential nutrients. This info helps you choose plants that prefer your soil's natural acidity or alkalinity, or tells you what amendments like compost or grit you might need to add for better drainage and fertility.
The Absolute First Step: Checking Local Rules and Utility Lines
This isn't just good advice; it's often a legal requirement and a safety imperative. Skipping this step can lead to fines, project delays, or far worse, serious accidents involving underground utilities. Always make these inquiries before you start planning, let alone digging.
Municipal Ordinances, HOAs, and Setbacks
Every city, county, and homeowner's association (HOA) has different rules about what you can and can't do in a parking strip. These often cover plant height restrictions (especially near intersections for line-of-sight), types of plants allowed (some prohibit edibles or invasive species), and setback requirements from the curb, sidewalks, or fire hydrants. You'll need to contact your local city planning or public works department. If you live in an HOA, check their covenants and restrictions too.
It's much easier to get approval upfront than to rip out a newly planted garden later.
Calling 811: Locating Underground Utilities
This is perhaps the most critical step for safety. Before you even think about putting a shovel in the ground, you must call 811 (in the US) or your local utility locate service. This free service sends technicians to mark the approximate location of underground utility lines like gas, water, electric, and communication cables. It's mandated by law and prevents catastrophic accidents.
Damaging a utility line isn't just dangerous; it can lead to massive fines and liability. Manufacturer specifications indicate that even small digging projects require this step.
Designing Your Parking Strip Garden: Decisions, Decisions!
Once you've done your homework on the site and the rules, it's time for the fun part: designing your garden! This is where you decide on the look, feel, and functionality. Think about what you want your garden to achieve, whether it's attracting butterflies, saving water, or just looking beautiful.
Plant Power: Choosing the Right Native, Drought-Tolerant Plants
This is where your site assessment really comes into play. Given the harsh conditions often found in parking strips (compacted soil, full sun, road salt exposure, heat reflection from pavement), you'll want to prioritize tough plants. Native plants are almost always your best bet because they're already adapted to your local climate and require less water and maintenance once established.
Look for species that are:
- Drought-tolerant: They can handle dry spells.
- Salt-tolerant: If you're in an area with road salt in winter.
- Heat-tolerant: To cope with the urban heat island effect.
- Appropriate mature size: Avoid plants that will outgrow the space or block sightlines.
- Deep-rooted: To help break up compacted soil and access deeper water.
For example, in many arid and semi-arid regions, native salvias, sedums, or various grasses work wonderfully. For wetter climates, specific native ferns or low-growing shrubs could be ideal.
Hardscaping & Edging: Making it Functional and Beautiful
Hardscaping elements can define your garden, manage traffic, and add visual interest. A simple, clean edge between your garden and the sidewalk or curb can make a huge difference, giving it a polished look. Materials like natural stone, recycled brick, or steel edging work well. If foot traffic is an issue, consider integrating small, decorative boulders or strategically placed stepping stones to guide people.
Just be mindful of local regulations regarding obstructions in the public right-of-way.
Thinking About Water: Simple Irrigation Solutions
While the goal is a drought-tolerant garden, all new plants need regular water to get established. You might start with hand watering, but for convenience, especially in larger strips, a simple irrigation system can be a lifesaver.
- Drip irrigation: This is highly efficient, delivering water directly to the plant roots, minimizing evaporation. It's relatively easy to install.
- Soaker hoses: Similar to drip lines, these slowly weep water into the soil and are great for closely spaced plants.
- Manual watering with a hose: Perfectly fine for smaller strips or if you enjoy being out in the garden.
Remember, once your plants are established (which can take a year or two), their water needs will significantly decrease, allowing you to reduce or even turn off supplementary irrigation.
Step-by-Step: Bringing Your Parking Strip Garden to Life
Alright, you've assessed, designed, and made your plans. Now it's time to get your hands dirty and bring that vision to fruition! This process flows logically, and following these steps will set your garden up for success.
Clearing the Way: Removing Old Sod or Weeds
First things first, you need a clean slate. If your parking strip is currently grass or full of weeds, you've got to remove them thoroughly.
Here are a few common methods:
- Sod cutter: You can rent one of these. It quickly slices under the grass, allowing you to roll up and remove the sod.
- Sheet mulching: This is a fantastic, no-dig method. Layer cardboard directly over the existing vegetation, thoroughly wet it, then add layers of compost, mulch, and soil. The cardboard smothers weeds and eventually breaks down, enriching the soil.
- Manual removal: For smaller strips, good old digging and pulling can work, but make sure to get as much of the root system as possible to prevent regrowth.
Prepping Your Soil for Success
Once the old stuff is gone, it's time to improve that compacted soil. This step is non-negotiable for healthy plants. You'll want to loosen the soil to a depth of at least 8-12 inches.
- Manual digging: Use a digging fork or shovel to break up the soil.
- Adding amendments: Mix in plenty of organic matter like compost. This improves drainage in clay soils and helps sandy soils retain moisture and nutrients. If your soil test suggested pH adjustments, now's the time to incorporate those.
Planting Your New Green Oasis
With your soil prepped and ready, it's time to put your carefully chosen plants in the ground.
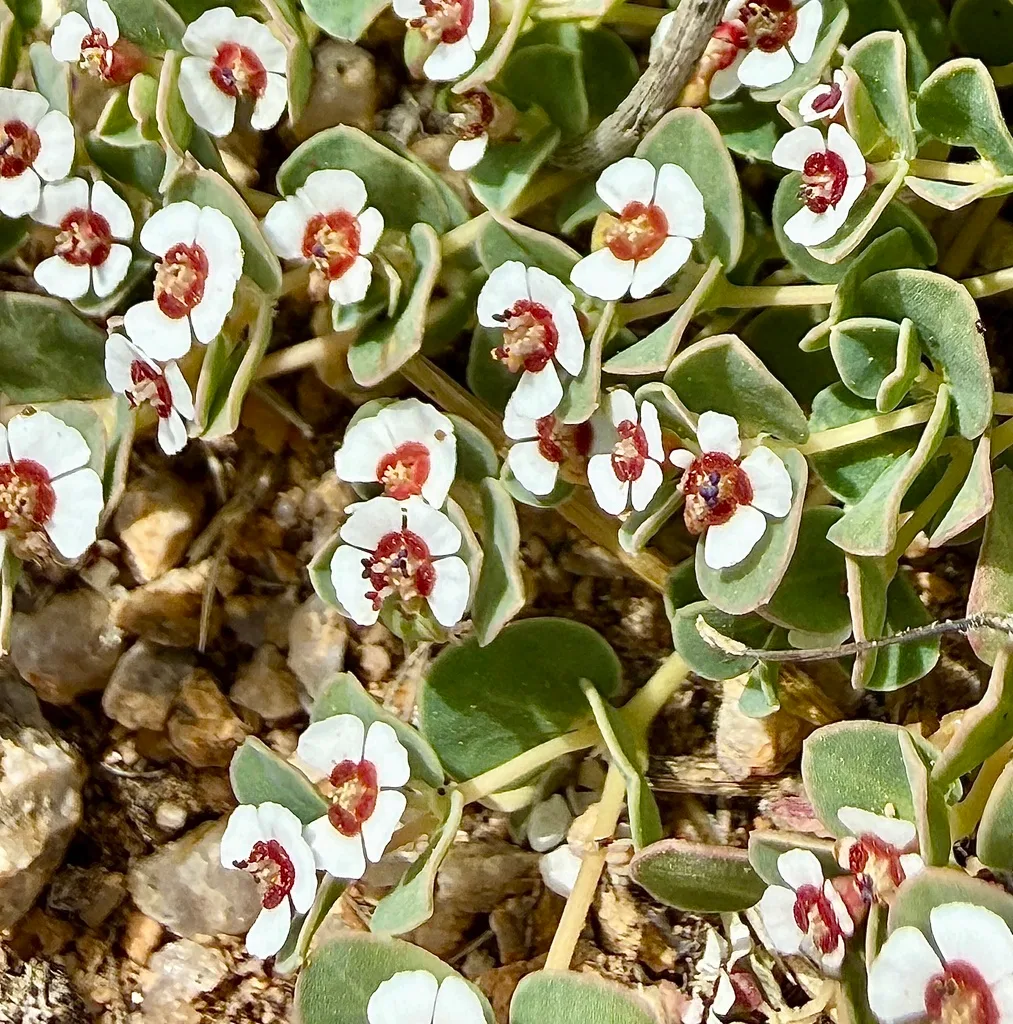
Here's the drill:
- Layout: Arrange your plants while they're still in their pots. This lets you visualize the final design, adjust spacing, and ensure taller plants are at the back or center, with shorter ones in front.
- Digging: Dig a hole roughly twice as wide as the plant's root ball and just as deep.
- Planting: Gently remove the plant from its container, loosen any circling roots, and place it in the hole so the top of the root ball is level with the surrounding soil. Backfill with your amended soil, gently firming it down.
- Watering: Give each newly planted specimen a good, deep drink immediately after planting.
Mulch It Up: The Secret to Less Work
Mulch is your garden's best friend. After planting, apply a 2-4 inch layer of organic mulch (like wood chips, shredded bark, or straw) over the entire garden bed. Keep it a few inches away from the stems of your plants.
Mulch does wonders:
- Weed suppression: It blocks sunlight, making it harder for weed seeds to germinate.
- Moisture retention: It helps the soil hold onto water, meaning less frequent watering for you.
- Temperature regulation: It insulates the soil, keeping roots cooler in summer and warmer in winter.
- Soil improvement: As it breaks down, it slowly adds organic matter to your soil.
First Drink: Initial Watering and Establishment
Your newly planted garden needs consistent moisture to establish its root system. For the first few weeks, you'll likely need to water every 1-3 days, depending on your climate and the specific plant needs. Gradually reduce the frequency as the plants settle in. The goal is to encourage deep root growth, so aim for deep, less frequent watering rather than shallow, daily sprinkles.
This "establishment period" can last from a few months to a full year, but it's crucial for long-term plant health.
Common Pitfalls: Mistakes to Avoid for a Thriving Garden
Even with the best intentions, it's easy to stumble into common mistakes when creating a parking strip garden. Knowing these ahead of time can save you a lot of headache, wasted effort, and even money. Think of these as guardrails for your project.
Ignoring Local Regulations
This is probably the biggest and most common mistake. Failing to check with your city or HOA about their specific rules for parking strip landscaping can lead to big problems. Imagine investing all that time and money, only to be told you have to remove everything because your plants violate height restrictions or you didn't get a required permit. Always, always check local ordinances first.
Picking the Wrong Plants for the Conditions
It's tempting to pick plants purely for their beauty, but your parking strip is a tough environment. Plants that can't handle full sun, compacted soil, heat reflection, or road salt simply won't thrive. You'll end up with stressed, sickly plants that require constant intervention or, worse, die off. This is where researching native, drought-tolerant, and tough-as-nails species specific to your USDA Plant Hardiness Zone pays off.
Skipping the Soil Prep
Just sticking plants into existing, unamended soil is a recipe for failure. Parking strip soils are notoriously compacted and nutrient-poor. Plants need loose, well-draining soil to establish strong root systems. If you skimp on adding compost and breaking up that hardpan, your plants will struggle to access water and nutrients, leading to stunted growth or premature demise.
Think of soil prep as building a sturdy home for your plants; without it, they're on shaky ground.
Forgetting About Maintenance
While the goal is a low-maintenance garden, no garden is truly "no maintenance." Neglecting initial watering during establishment, letting weeds take over, or failing to replenish mulch will undermine all your hard work. New gardens need diligent care to get going. Even established gardens need occasional weeding, pruning, and perhaps a fresh layer of mulch every year or two. Think of it as ongoing care, not a one-and-done project.
Beyond Planting: Maintaining Your Parking Strip Garden
Once your parking strip garden is planted and mulched, your work isn't entirely done, but it definitely gets easier. The first year is all about establishment, after which maintenance generally becomes much lower. Consistent, thoughtful care ensures your garden stays healthy, beautiful, and keeps delivering those benefits we talked about earlier.