

Guide to Soil Health Regenerative No Till Garden in 2026
If you're tired of digging, weeding, and watching your garden wash away in every heavy rain, you're not alone. A soil health regenerative no till garden offers a completely different approach. It's about working with nature rather than against it, building soil that gets better every year instead of running it into the ground. This method transforms your garden from a labor-intensive chore into a largely self-sustaining ecosystem.
Research from the USDA Natural Resources Conservation Service shows that no-till practices can increase soil organic matter by 0.5 to 1% per year. That might sound modest, but it translates to soil that holds water like a sponge and requires far less intervention from you. The catch is that success depends entirely on your starting conditions. What works wonders on clay won't necessarily work on sand.
Why Your Soil Type Changes Everything
The first thing you need to know is that no-till isn't one method, it's a toolbox. What works on your neighbor's sandy plot might be a disaster on your compacted clay. This guide will help you pick the right tools for your unique patch of earth.
Think of it like choosing shoes. You wouldn't wear heavy boots to run a track race or flimsy sandals for a mountain hike. Your soil texture, weed pressure, and compaction level dictate which techniques will actually succeed. We'll walk through a simple diagnostic process that takes the guesswork out of the equation.
By the end, you'll know exactly which tools to reach for first.
Core Idea: Feed the Soil, Not Just the Plant
We're not just gardening above ground. The real magic happens in the dark, bustling world beneath your feet. Here's the simple version: tilling destroys the homes of worms and fungi and kicks up weed seeds. No-till gardening protects that underground city, building soil that feeds itself and your plants.
The principle is straightforward. Keep a living root in the ground as much as possible. Armor the soil surface with mulch or living plants. Never turn the soil over.
These three rules create an environment where beneficial organisms multiply. They create stable soil aggregates that hold water and air. Over time, this living system provides nutrients to your crops without synthetic inputs.
Diagnose Your Starting Point (The First Decision)
Before you buy a single bag of mulch, figure out what you're working with. This step determines everything that follows.
Assess Your Soil's Condition
The squeeze test is your first diagnostic tool. Grab a handful of moist soil and squeeze. If it forms a hard ball that doesn't crumble, you have clay. If it falls apart immediately, you have sand.
Loam will hold its shape briefly, then break easily. This simple test tells you how much structure you're starting with and how water will move through it.
Next, conduct the weed test. Are you battling perennial weeds like bindweed or nutsedge? Or is it mostly annuals like crabgrass? This tells you about your "weed seed bank", the reservoir of dormant seeds waiting for light and disturbance to sprout.
Perennial weeds mean you need a more aggressive smothering approach. Annual weeds suggest you can move faster with lighter mulching.
Finally, perform the traffic test. Are your beds a hardpan from foot traffic? Or are they fluffy? If you can't easily push a trowel in, you have compaction that needs addressing before mulching.
Otherwise, you'll just be sealing in problems.
Your Two Biggest Starting Challenges
For weedy or "dead" soil, you'll likely start with a smothering layer like cardboard and a thick mulch. This chokes out existing vegetation and gives soil biology time to rebuild. For compacted soil, you might need a one-time use of a broadfork to gently aerate without inversion, then protect it immediately with mulch.
Choose Your No-Till Launch Strategy
Based on your diagnosis above, pick your path. Each method serves a different starting condition and comes with its own timeline and material requirements.
Option A: Sheet Mulching (Lasagna Gardening)
Sheet mulching works best for weedy lawns or new beds you're creating from scratch. The process involves smothering existing grass or weeds with cardboard, then layering compost and mulch on top. This creates an instant no-till bed without killing the existing vegetation first. You can plant immediately through holes in the cardboard, or wait a season to let it break down further.
Materials needed include cardboard boxes (remove tape and staples), a few inches of compost, and 3 to 6 inches of straw or wood chips. The cost varies by region, but bulk mulch delivery typically runs $30 to $80 per cubic yard as of 2026. The main advantage is immediate results and excellent weed suppression. The downside is the upfront labor of sourcing and moving materials.
Option B: Cover Crop & Chop-and-Drop
This method suits existing beds with decent soil that just needs a transition away from tilling. You plant a cover crop like winter rye, clover, or buckwheat. Before it sets seed, you chop it down and leave it as a mulch layer, then plant directly into it. This approach feeds the soil continuously and builds structure from the roots up.
The timeline requires advance planning. Plant cover crops in fall for winter growth or early spring for summer termination. You'll need to terminate them 2 to 3 weeks before planting your main crops to allow for decomposition. The benefit is reduced material costs and the creation of your own mulch on-site.
The challenge is timing and managing the cover crop so it doesn't become a weed itself.
Option C: Occultation
Occultation is the fastest method to clear a small, intensely weedy patch. You wet the soil thoroughly and cover it with black plastic for 6 to 8 weeks during sunny weather. The heat builds up under the plastic and smothers weeds and soil pathogens. This method works well for preparing a small intensive bed quickly.
You'll need UV-stabilized black plastic and something to seal the edges like soil or rocks. The plastic can be reused for multiple seasons if handled carefully. The main advantage is speed and effectiveness against tough perennial weeds. The drawbacks are cost for quality plastic and the temporary nature, you still need to follow up with mulch or cover crops to maintain the soil structure you've created.
Pick Your Mulch & Cover Crobs (Match to Your Climate & Goals)
This isn't one-size-fits-all. Your choice here depends on your local rainfall, what you're growing, and what materials are actually available to you.
Mulch Materials Compared
Different mulches serve different purposes. Here's how to choose what's right for your situation:
| Material | Best For | Pros | Cons |
|---|---|---|---|
| Straw | Vegetable beds, paths | Light, insulates, retains moisture | Can contain weed seeds if not true straw |
| Wood Chips | Permanent paths, around perennials | Long-lasting, great for fungi | Ties up nitrogen if dug in (keep on top!) |
| Leaf Litter | Beds in fall/winter | Free, fantastic for soil structure | Mats down when wet; shred first |
| Compost | Top-dressing, planting holes | Adds biology and nutrients | Not a thick mulch; weeds can grow in it |
| Cardboard | Base layer for sheet mulch | Kills weeds, decomposes | Can be hard to plant through directly |
Fast-Growing Cover Crops
Buckwheat serves as an excellent summer cover crop. It breaks up the topsoil, flowers attract pollinators, and it dies back with the first frost. This makes it easy to plant into without chopping. Winter rye provides hardy fall coverage, suppresses weeds through winter with its allelopathic chemicals, and develops deep roots that prevent erosion.
The key is terminating it before it goes to seed in late spring.
Crimson clover fixes nitrogen in the soil, making it available for subsequent crops. It produces beautiful red flowers that bees love and can be planted in spring or fall. In colder zones, it winterkills naturally, making termination simple. For compacted soils, daikon radish creates deep taproots that break up compaction, then the plant dies and leaves channels for future roots.
The ideal mulch depth is 3 to 6 inches for most applications. Thinner layers break down too quickly and won't suppress weeds effectively. Thicker layers can mat down and prevent water penetration. Replenish mulch as it decomposes, typically once or twice per growing season depending on material and climate.
Your specific location matters here. If you live in a wet climate, wood chips work well because they allow good air exchange. In arid regions, straw or leaf mulch conserves precious moisture. Check with local farms or municipal composting facilities to see what materials are abundant in your area.
Often you can source them for free or cheap.
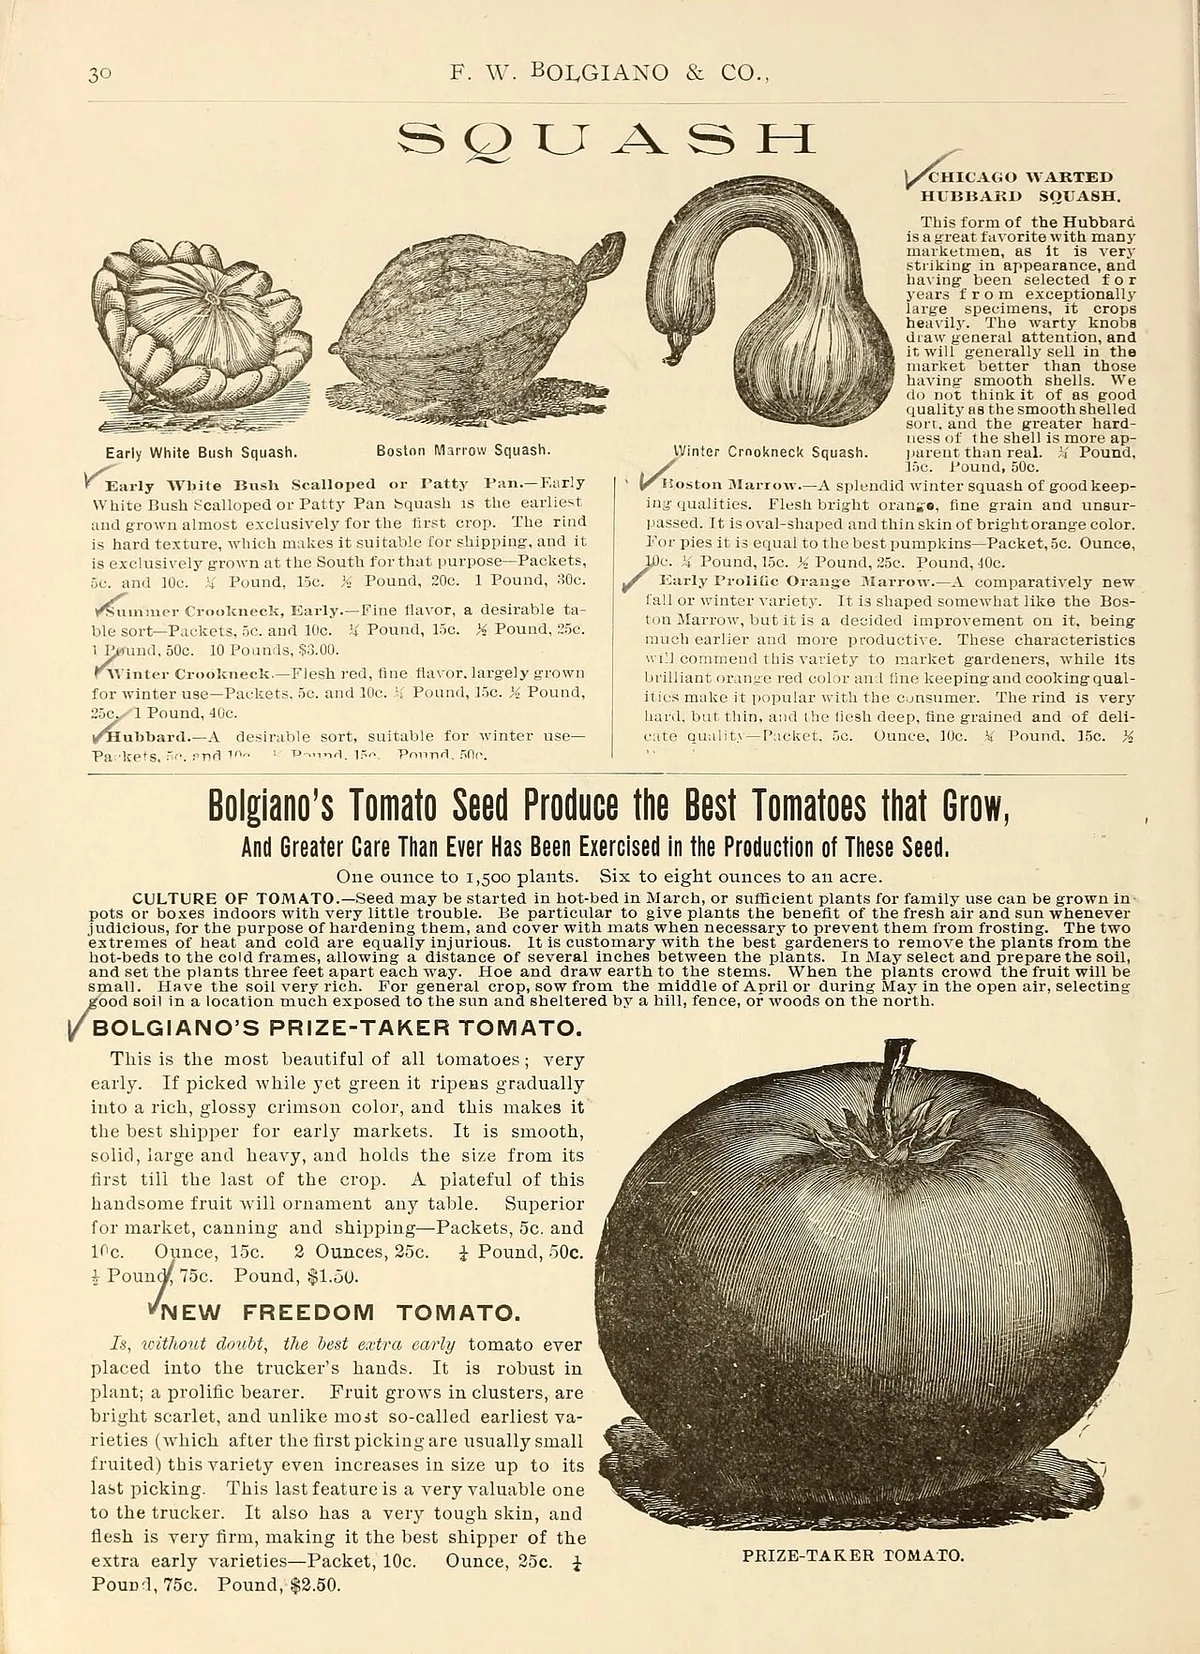
Image source: Wikimedia Commons / F.W. Bolgiano & Co.; Henry G. Gilbert Nursery and Seed Trade Catalog Collection.
Your First-Year No-Till Workflow: A Seasonal Timeline
This is your action plan. Adjust based on your chosen strategy, but the seasonal rhythm stays the same. Think of it as a dance, there’s a right step for each season.
Fall (Prepare): This is when you assess your soil and make big moves. If you’re sheet mulching or doing occultation, start now. The soil is warm and microbes are active, which speeds up decomposition. Sow winter cover crops like rye by mid-fall.
If you’re in a mild climate, you can also plant garlic or overwintering vegetables directly into mulch.
Early Spring: Terminate your cover crops 2 to 3 weeks before you plan to plant warm-season crops. Chop-and-drop works well here. Do not let them set seed. For sheet mulched beds, you can plant directly once the soil has warmed.
Pull back mulch just enough to create a planting hole filled with compost.
Spring (Plant): Create planting holes in your mulch. Direct sow beans, peas, or carrots into compost-filled holes. Transplant seedlings the same way. Water thoroughly after planting.
Keep the mulch layer thick around plants to suppress weeds and retain moisture.
Summer (Maintain): Replenish mulch as it breaks down. Water deeply at the base of plants, not on leaves. A good deep watering once a week beats frequent shallow sprinkles. No cultivation, no digging.
If slugs become a problem, hand-pick them at night or use beer traps.
Fall (Reset): After harvesting, plant a new cover crop in empty beds. Add a fresh layer of mulch to protect bare soil over winter. This is also the perfect time to collect leaf litter for free mulch. Shred it first so it doesn’t mat down.